Updated March 28, 2023
Now that we are gearing up for warm weather (hopefully), it’s common for us to see a lot of appointments for ear infections. Why are ear infections more common in the Spring/Summer, you may wonder? This is because it’s more common for our pups to go swimming, get their ears wet running through a puddle, or be given a bath. When a pup’s ears get wet and warm, it’s the perfect environment for bacteria to grow, creating an ear infection. There are also more environmental allergies that may predispose your pup to an infection. Therefore, we thought it would be a great idea to teach our clients some tips and tricks on how to clean your pup’s ears.
Supplies you will need:
-
Ear Cleanser – Our personal favourite, and veterinarian recommended – PRO Concepts – Oti-Scrub. It comes in two different size bottles, 8 fl. oz. & 16 fl. oz., and both are sold at the clinic! We recommend this ear cleanser because it doesn’t contain alcohol or hydrogen peroxide (which can irritate your dog’s sensitive ears).
-
Kleenex, gauze, or soft paper towel – These can be used to help clean the outer and inner ear, and also soak up the excess ear cleanser.
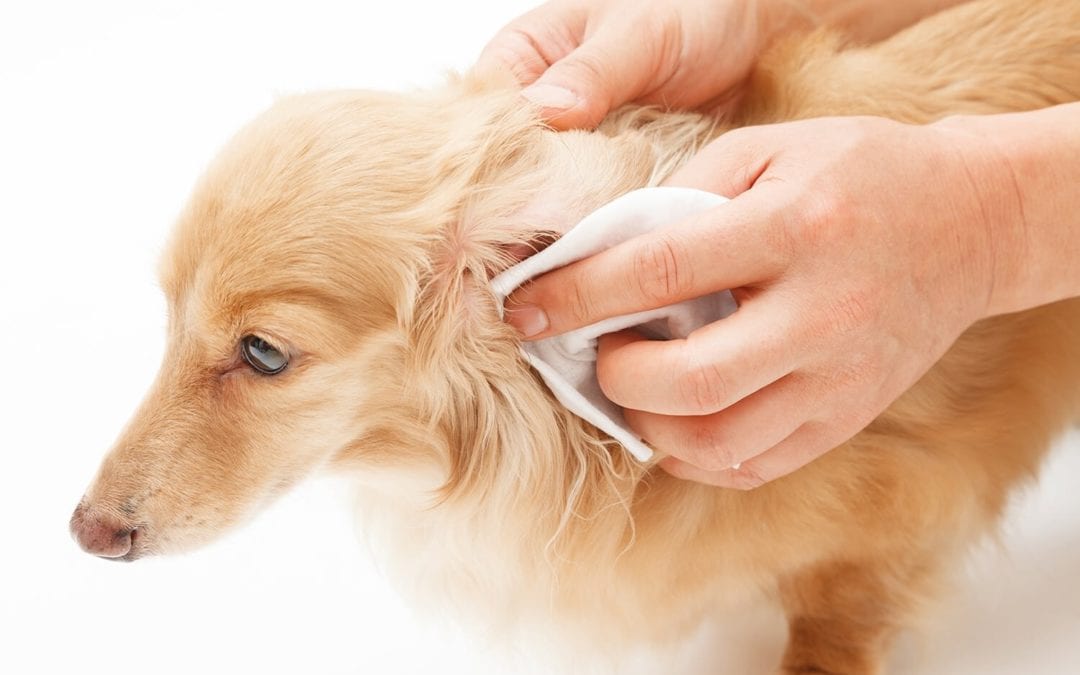
-
Towel or blanket – to help contain the potential mess. Most pups will shake their head after the ear cleanser is administered creating a mess.
-
Treats – For rewarding your pup for a job well done. Also, who doesn’t love to spoil their pups with endless treats?
After all the supplies are gathered, I would recommend setting up an area that is easily cleaned and confined. I find a bathroom or bathtub are areas that seem to work well because most often, items won’t get ruined if wet.
1. Once you’re all set up and ready to go, bring your pup to the assigned area and get them to sit.
2. I suggest inspecting their ears first. If there are any signs of redness, irritation, smell, or increased scratching/shaking, contact your vet as these could be signs of an ear infection. Inspect the ears by holding the earflap upright.
3. Before administering the ear cleanser, I often allow the pup to investigate the bottle first, allowing them to not be intimidated when applying. This can be rewarded with a treat.
4. Keeping the earflap up, carefully fill the ear canal with the cleaning solution. I often allow it to fill straight to the top of the ear canal. Once filled, gently massage the base of the ear (in a squishing motion). Often there will be a wet “sudsy” sound when you massage the ear – don’t be alarmed, this is normal!
5. Massage the base of the ear for about 10 seconds and then release the earflap.
6. Allow the pup to shake its head. This allows any excess ear cleanser to be eliminated from the ear canal.
7. Use a piece of Kleenex, gauze, or paper towel and wrap it around your index finger (or pinky if the ear is smaller) to gently wipe the visible part of your pup’s ear canal and outer ear. Do this a few times if you feel necessary. I try to avoid using cotton swabs as this can cause damage if they were to slip into the ear canal.
8. Reward your pup with a treat, then repeat the above steps for the other ear.
You did it, way to go! We’d be happy to answer any questions you may have following this blog post, feel free to call us or text us at 204-275-2038 or email us at info@centralvet.ca if that’s easier!
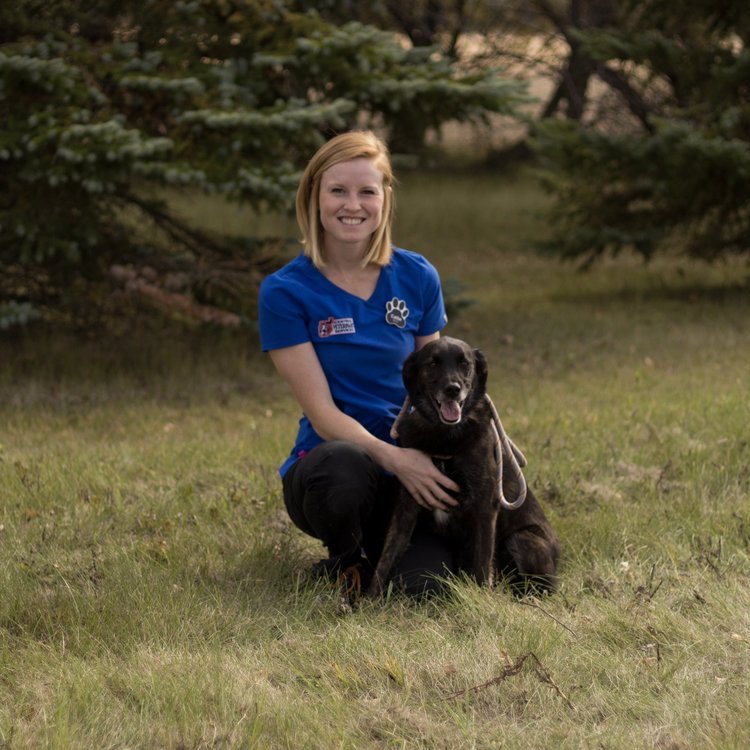
Written by Callie Hilton, R.V.T.
Learn more about Callie Hilton, R.V.T. here.


